Rear Tube Bumper

This 1st gen Frontier rear tube bumper was a big upgrade to the old bumper which was full of rust holes. I'm not aware of any other company who currently makes a rear plate or tube bumper for this generation truck.

9/24/20195 min read

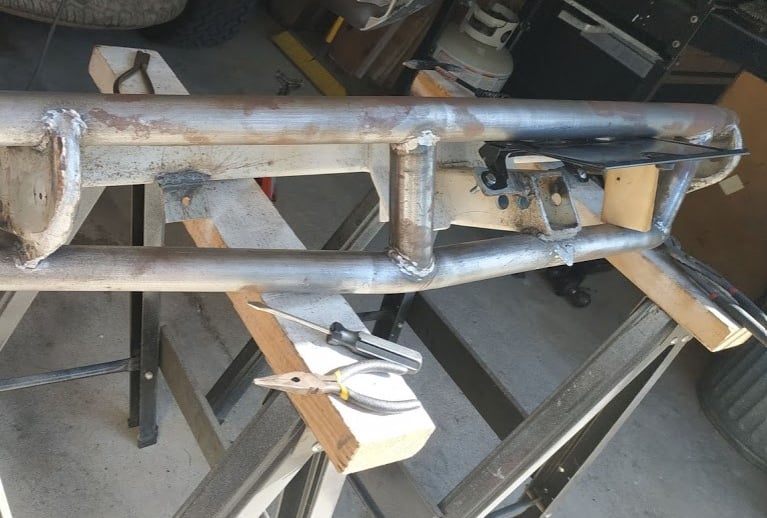
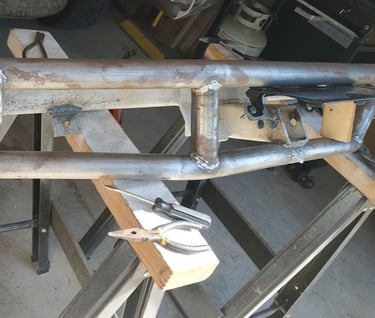
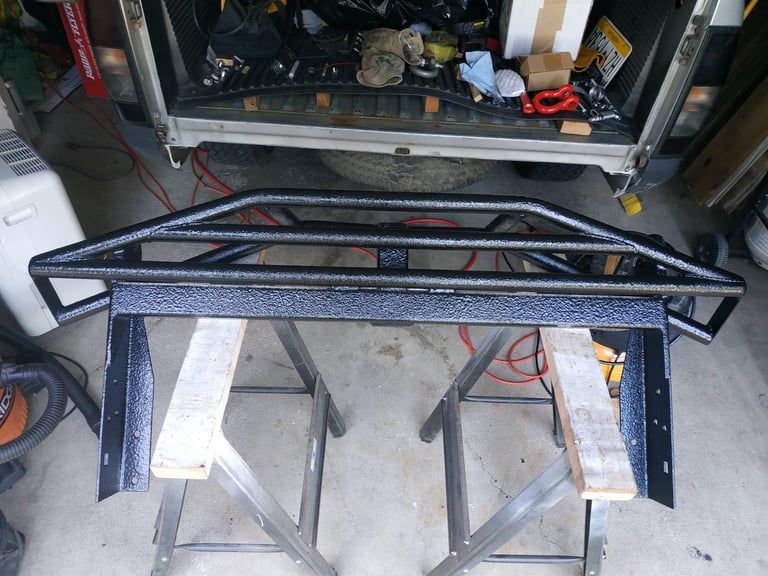
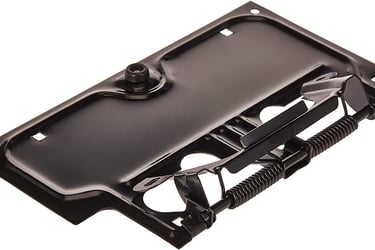
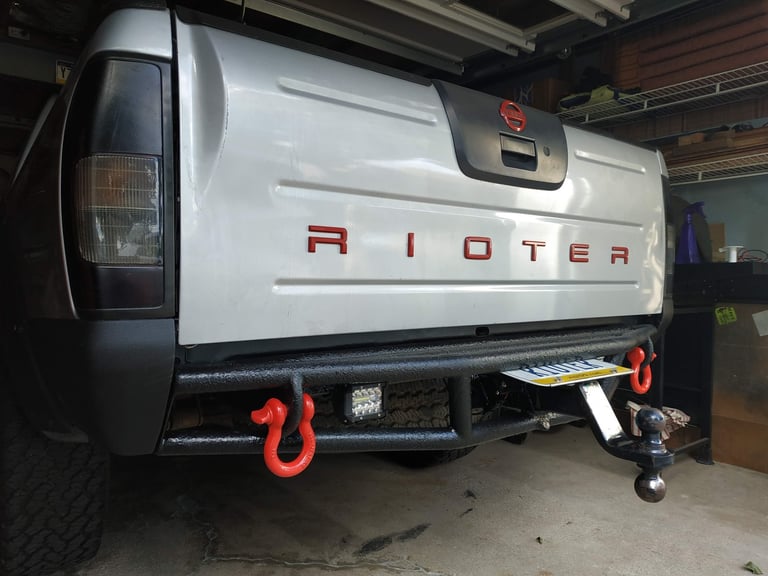
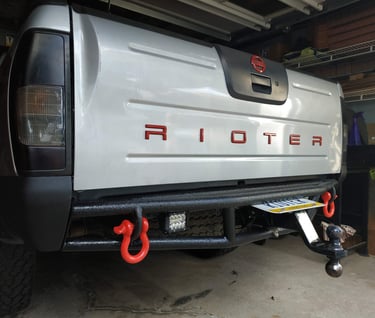
Fits both the Long Bed and the Short Bed

The main difference between the long bed and the short bed are the holes used on the mounting plates. The hitch receiver was designed to sit behind the fold-up license plate without interfering with the spare tire underneath, with up to a 31in tire fitting under the short bed, and a 33in tire under the long bed.
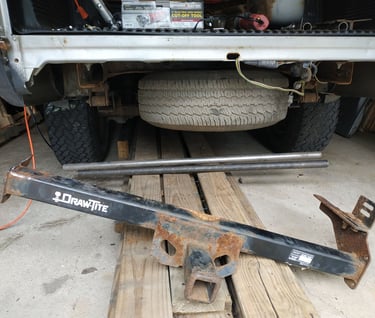
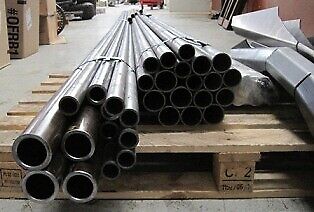
Getting Started

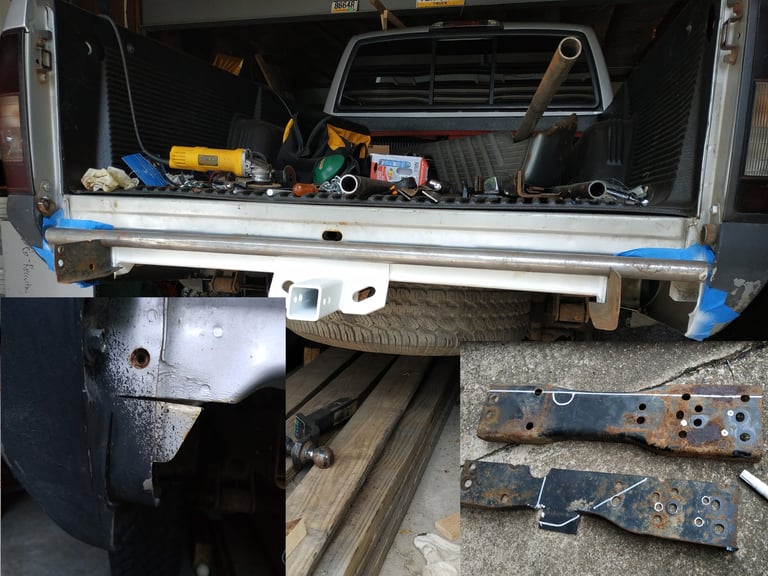
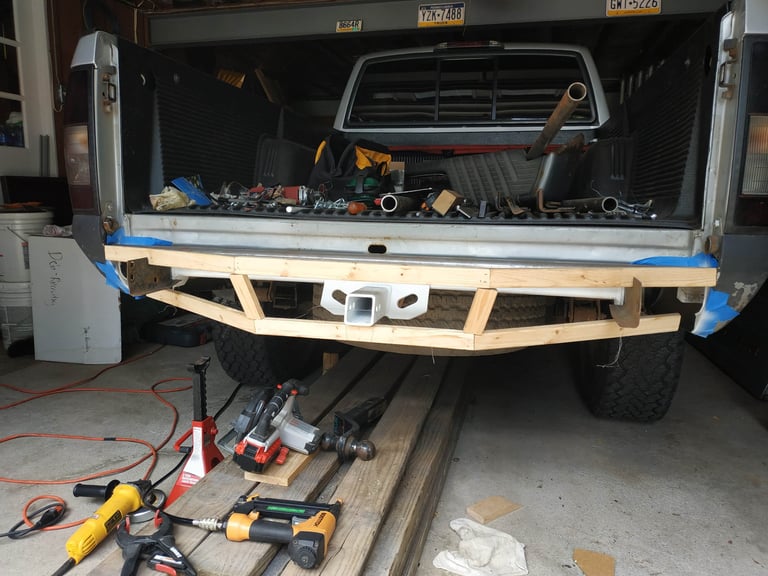
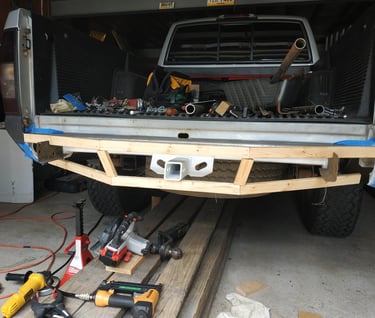
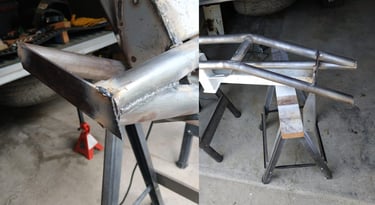
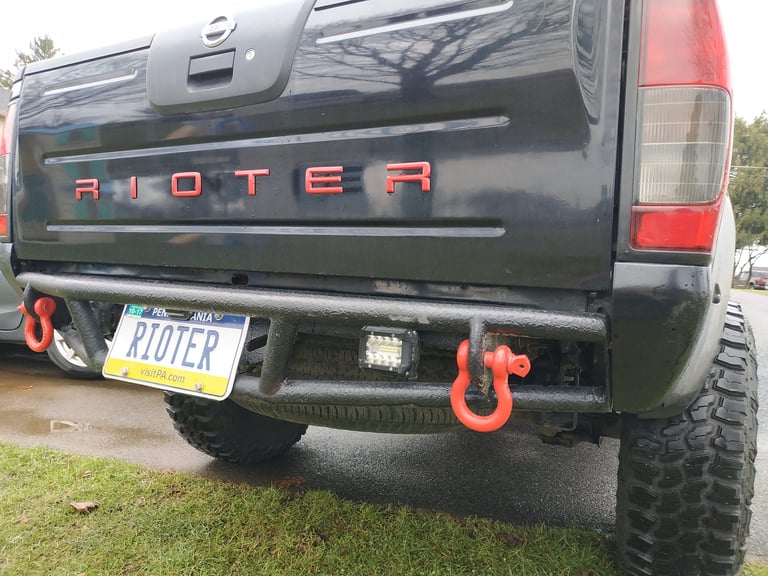
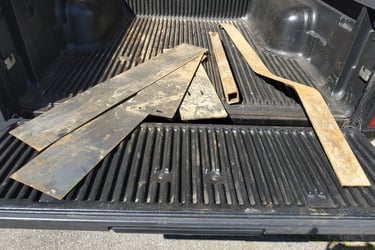
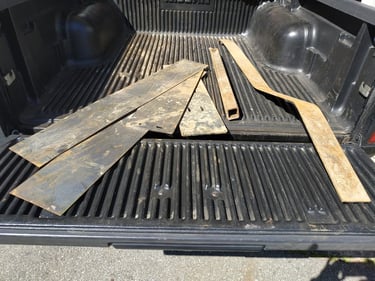
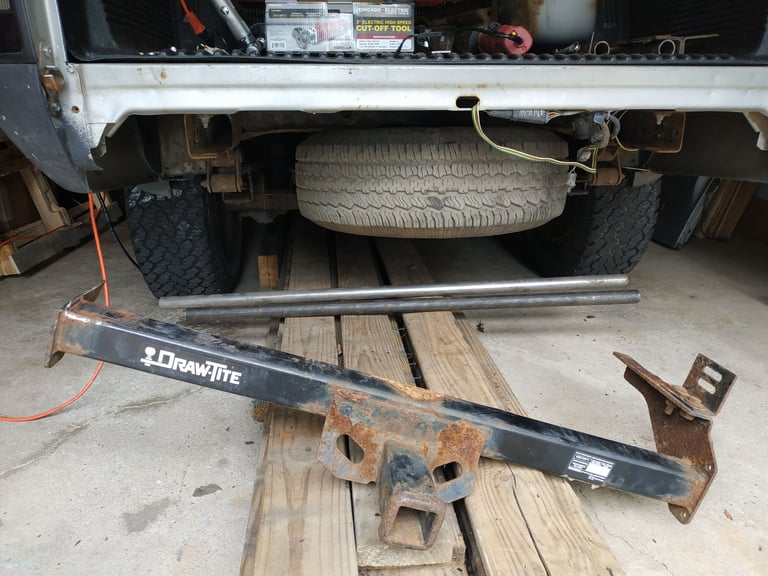
I removed the old bumper first and started with the hitch so that I could build the new bumper around that.
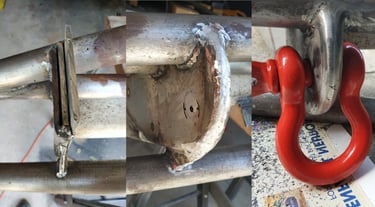
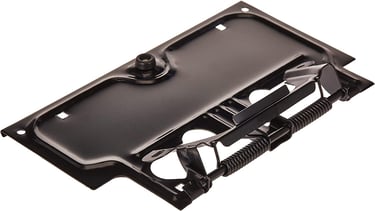
The hitch mounts were cut off so that I could mount it much higher and a little further back, to provide better departure angles. I also sanded and painted it with a Rust-oleum Clean Metal Primer spray can, to help prevent more rust.

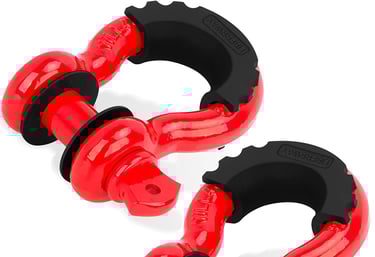
PLEASE NOTE: there are warnings to not cut or weld the hitch, so doing any of this is at your risk and you should fully understand what could go wrong if you do not weld and assemble this properly!

The Base

The original mounting brackets were much too flimsy, so I used them as templates to get the layout set. I cut the the little corner out of the rear of the bed as pictured to allow the bumper to sit flush with the rear corners.
This Draw-Tite hitch was perfect, because it sat up flush against the bumper mounts perfectly for a nice tight weld, without needing to make any changes to its width.

Wooden Template

I used 1x2's to mock up the angles, and used the old mounting brackets and some thin wire to help hold things in place until the new brackets were installed.

Bending and Welding

I used my buddies JD Squared tube bender for this bumper, and it worked extremely well, but he has since moved to the West coast. My plan is to use a Harbor Freight pipe bender for the front bumper, which I think I can accomplish with the proper techniques.
Everything was tack welded in place on the truck, and finished on horse stands using a 120v Craftsman Mig welder. I think it did the job perfectly for this size .120 wall DOM tubing, without breaking the bank or being over-kill.
I left 1/4in extra room on each side of the bumper during mockup, so that I could add the 1/8in side bars to seal the ends of the tubes.
A chop saw would have been ideal for cutting the tubes, but I used an angle grinder, and picked up about 2lbs of shavings off the floor.

Clevis Mounts and Lessons Learned

This part of the project is where I had the most room for improvement and took a very large portion of time mainly because of the little spaces between the plates as pictured above.
The problem I had was that I wanted the spaces to be sealed inside, so I attempted to weld a bead inside the drilled out holes. Because it was uneven and bumpy, it just ate up my 7/8in drill bits, and possibly my drill as well. Do NOT do this!!
Next time I would preferably either use one piece of metal for the clevis mounts, or four tightly stacked plates, and then coat the inside of the holes with JB Weld, to seal the very minor cracks between the four plates.
I cut the plates to the desired curve, welded them together on the outside, and then ground it down to a nice smooth finish. I chose for the hole to hang out over the lower tube, to prevent the clevis from knocking against it during normal travel.

Light Tabs and License Plate Mounts

Two tabs were welded onto the Draw-Tite frame for aux lights, and two tabs on the receiver for the license plate mounts. A small flat section was added below the receiver for the foot of the license plate to sit on.

Bed Liner Painting

Top down view of the bumper before it was installed.
Be sure to hand sand any surface rust off the tubing, and then while using gloves thoroughly clean the whole bumper with Acetone to remove any hand grease and residue. The painting was completed on two cloudy days. Mix a small portion of the T-Rex Bed Liner separately and apply it with a hand brush in the hard to spray cracks first. Then use the included air sprayer to paint it up-side down with 1qt, letting it dry completely, and the second quart with it right side up on another day.

Long Term Review

A lot of research was completed to find a good bed liner that would withstand abuse. I am very happy with it and I would highly recommend the T-Rex Bed Liner. Light bumps backing into trees, sign posts, etc, just roughs up the surface, and can return to normal with a quick spray from a can of Rust-Oleum Gloss Black. This picture is taken more than a year after the bumper was built, and I just give a quick spray over the roughed up spot, like the one shown above the aux light.

New departure angle = 58°
Old departure angle = 27°

The complete list of items used can be found in the Parts List below. Links may include affiliate referrals.

Parts List

Total Cost = $391

20ft of 1.5in .120 wall DOM tubing

$215

Acquired at my local fabrication shop

Metal used for bumper mounting brackets

$6

Acquired at my local scrap yard

D Ring Clevis Shackles

$25

License Plate Lights

$8

I painted half of the clear lens to narrow the area of coverage towards the plate

Folding License Plate Holder

$23

Hitch is hidden behind the license plate, which folds up

7/8" Drill Bit for clevises

$29

For drilling clevis mount holes

T-Rex Black Spray-on truck Bed Liner SMR-1000-K4

$70

Minimum 2qts required. Other two quarts were used on the other bumper

Rust-oleum Clean Metal Primer

$7

Used on the rusty Draw-Tite hitch after I sanded it down, to prevent further rusting

Rust-oleum Gloss Black

$10

This is not necessary, but I use it for touching up scuffs, after backing into a tree or such