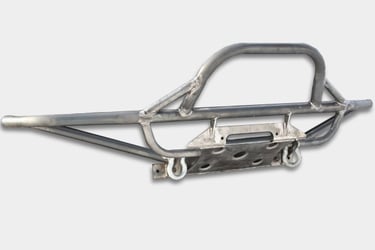
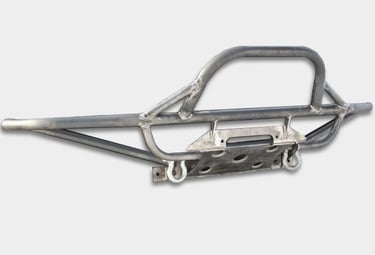
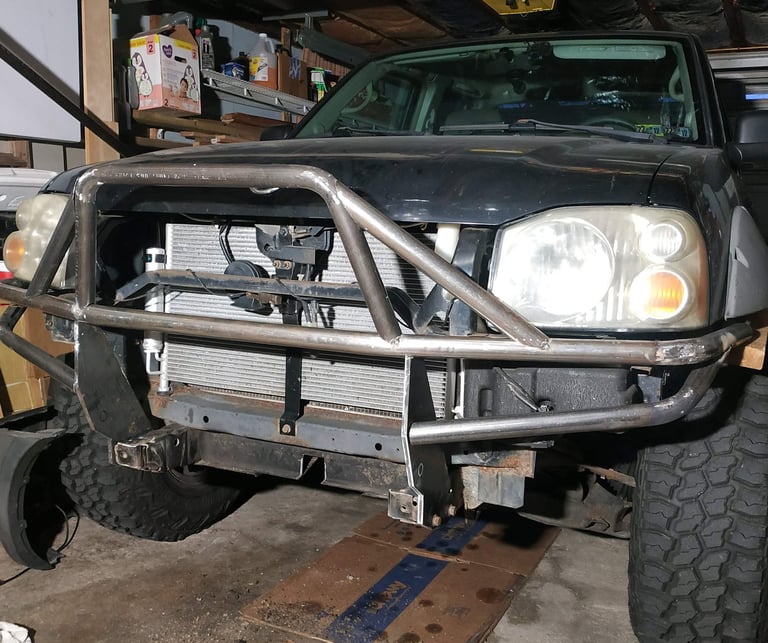
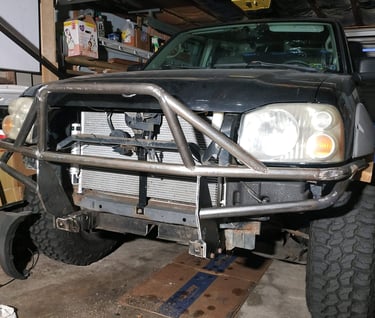
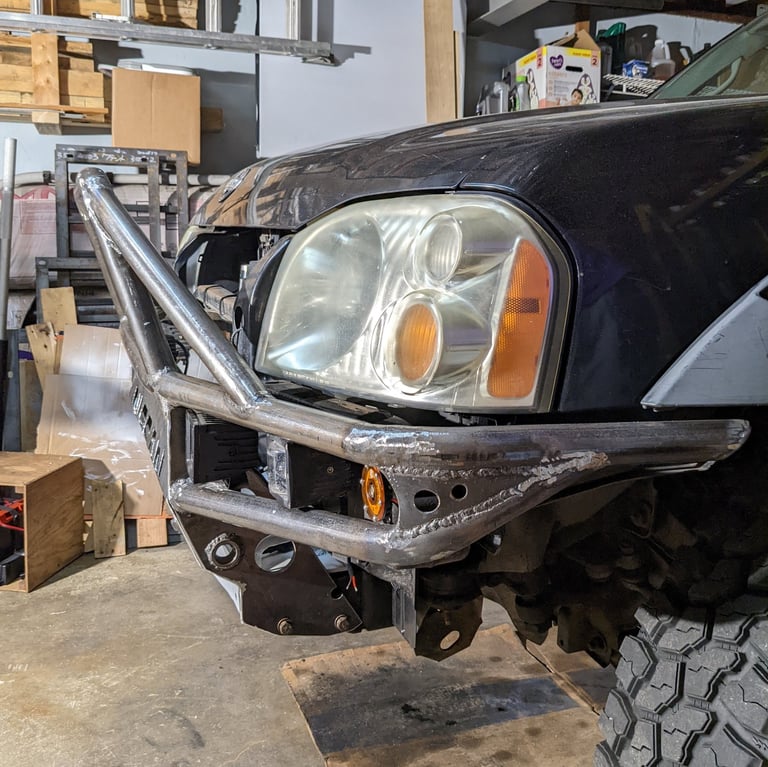
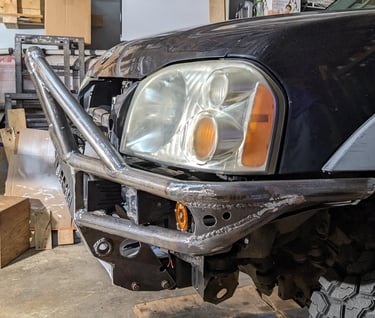
Front Tube Bumper
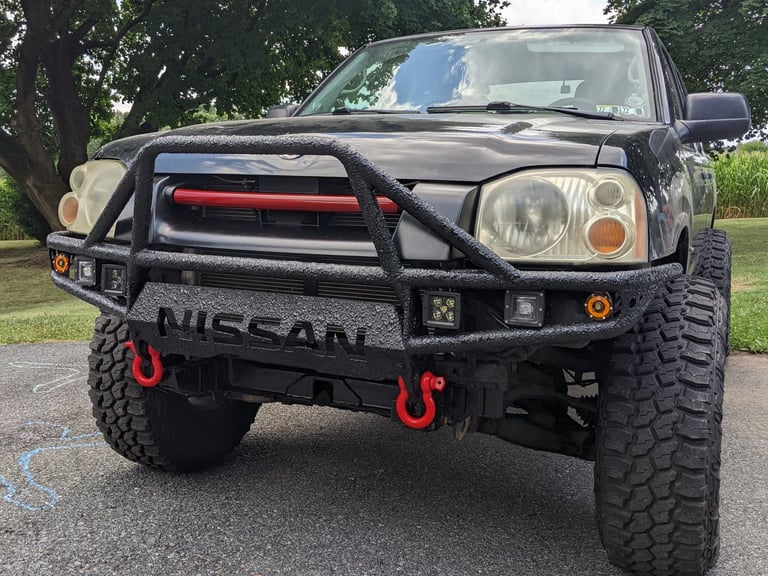
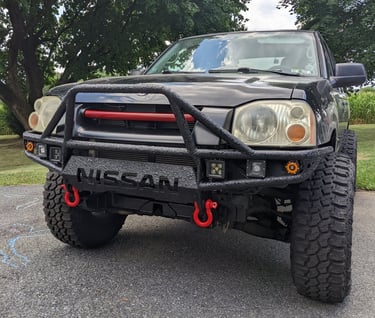
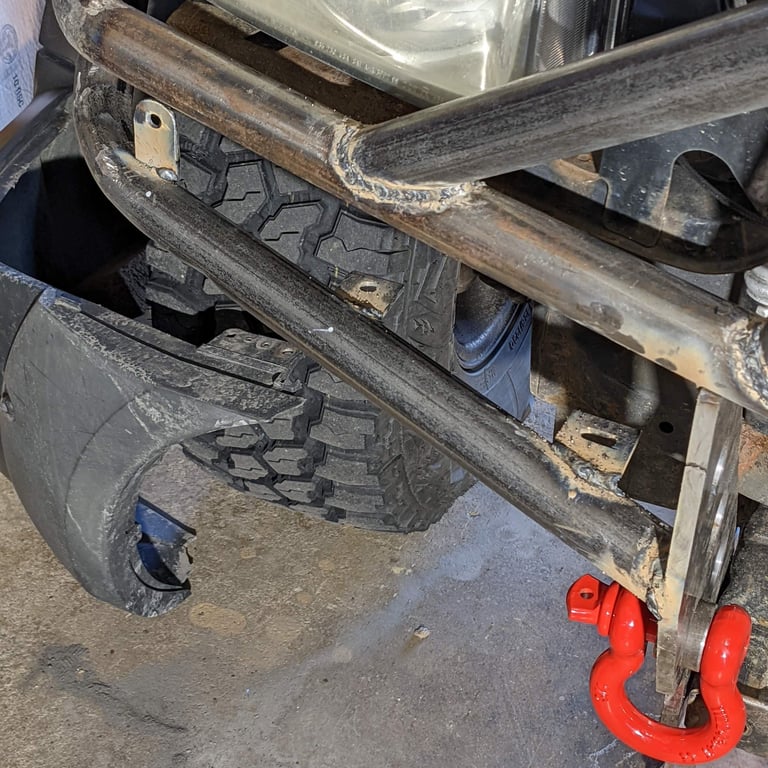
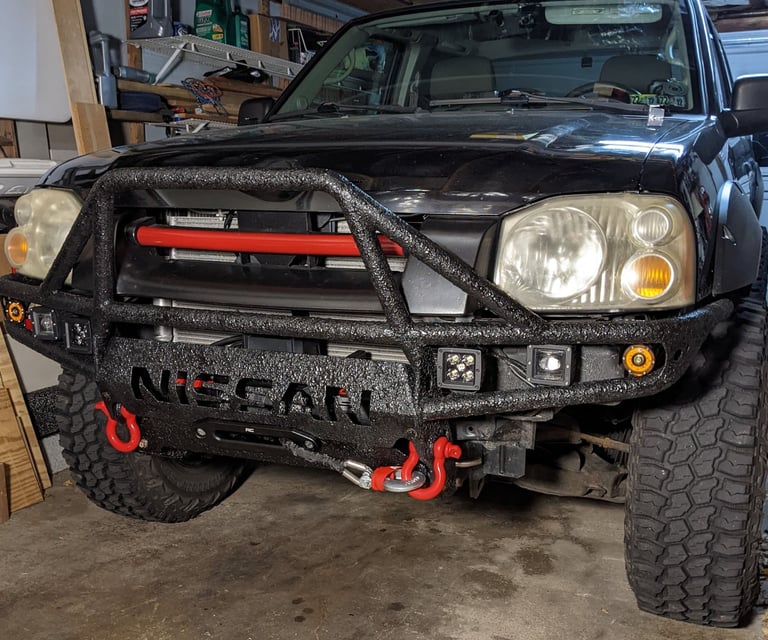
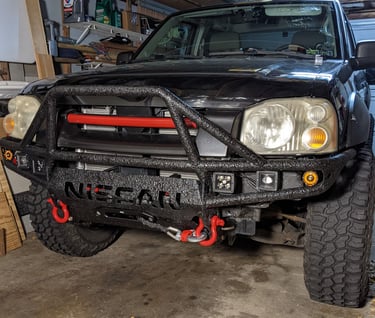
This 1st gen Frontier front tube bumper was designed with clearance in mind, yet still providing protection to the truck. Tubes stick out slightly beyond the headlights and edges to match up with fenders. This particular bumper was designed to fit a removable Winch behind the Nissan logo plate.
8/1/20226 min read
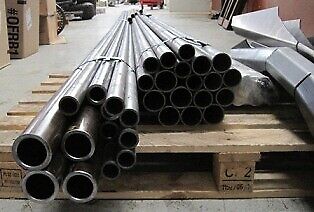
1.5" Tube Bumper
The top plastic grill cover was recovered from a damaged stock bumper in a junk yard, so I didn't have to cut up my stock bumper. If you were not able to build your own bumper, there's a link at the bottom of this page to a front tube bumper option.
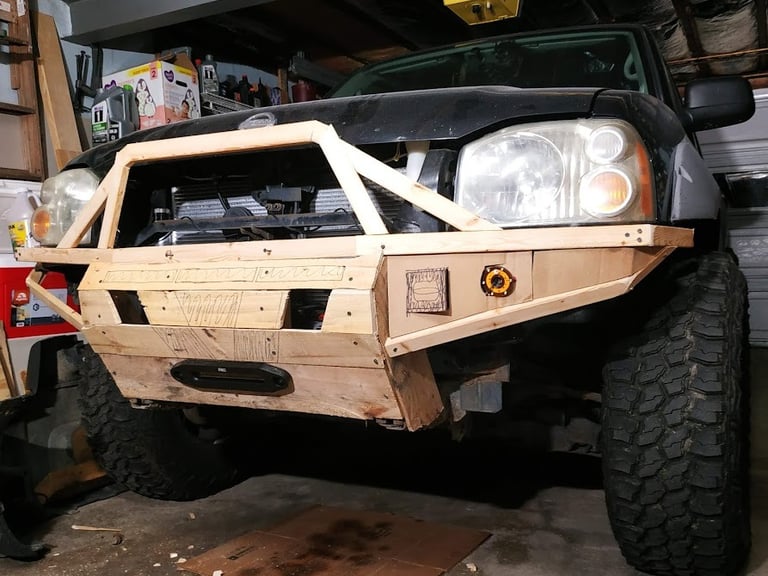
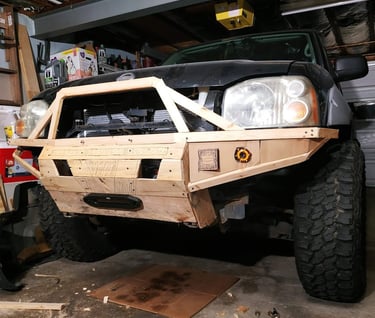
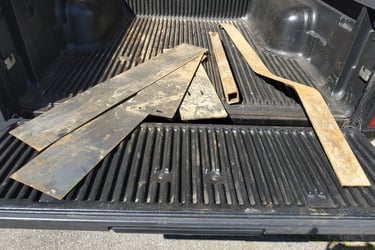
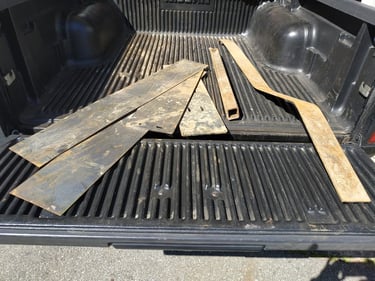
Wooden Template
I used 1x2's and repurposed pallet wood to mock up the angles and plates. Bumper was designed to not require frame modification if so desired. You can see things kind of change between the mock up and the end result.
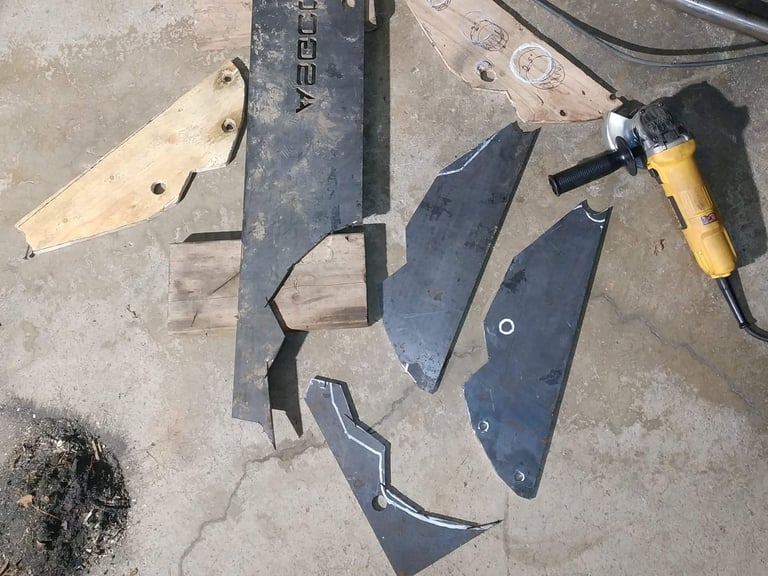
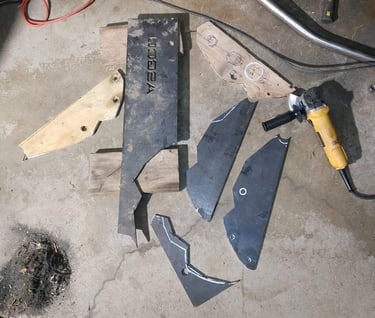
Getting Started
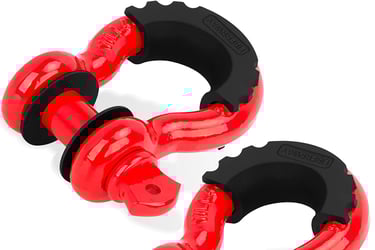
I made a few different versions of the wooden bumper braces until I was able to factor in the clevis mounts and get the angles I wanted. Each side was cut out of 3/8" steel plates, and each plate used just about a full cut-off wheel with the angle grinder.
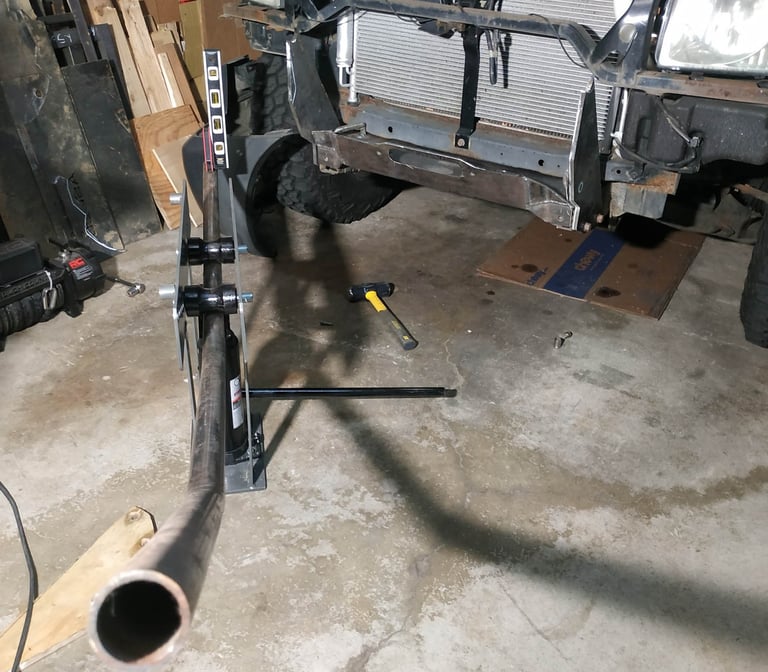
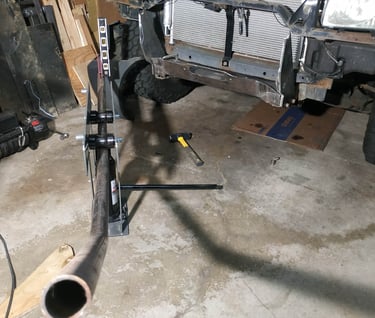
Bending Tools
For the rear bumper, I used my buddies JD Squared tube bender, but for this bumper, I used a Harbor Freight 12 ton pipe bender. The HF bender requires a combination of eye-balling it, and levels to make sure it was staying straight during the bends.
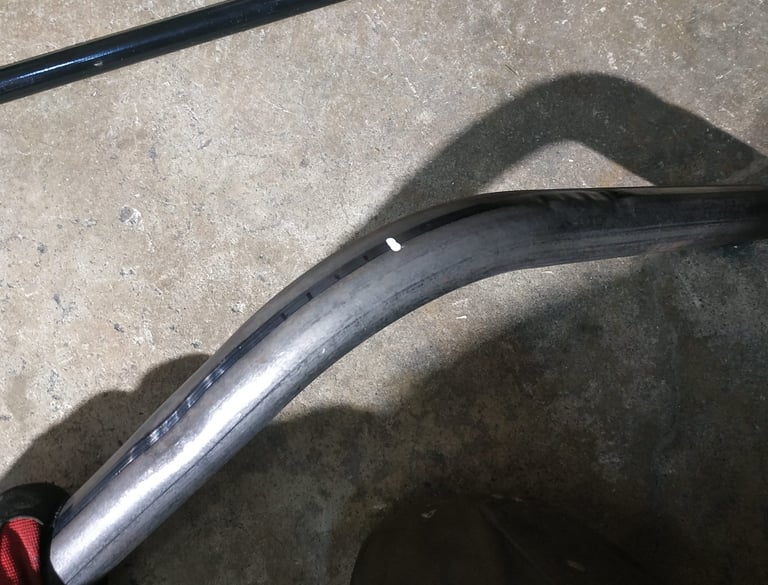
The Bends
For the bends, I would make a mark in the middle of where I wanted the bend to be, then two marks on either side of the middle mark, each a 1/2" apart. Starting with the middle mark, centered over the middle of the tube bender, pump the cylinder until there's pressure, then pump 8 full times which gives you about 8 degrees per mark. Release the pressure and re-center over the next marker, pressurize/level, and re-pump each marker an additional 8 times each for what I would recommend to be a max of about 40 degree bends using this style tube bender
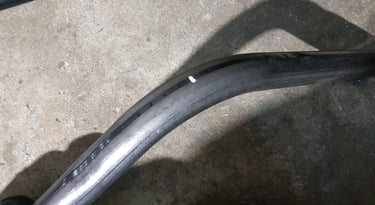
Bend Outcome
You can see that you'll get these little dimples on either side of the bend, which will not really be noticeable under a bedliner paint, or could be filled in with a welder and some grinding.
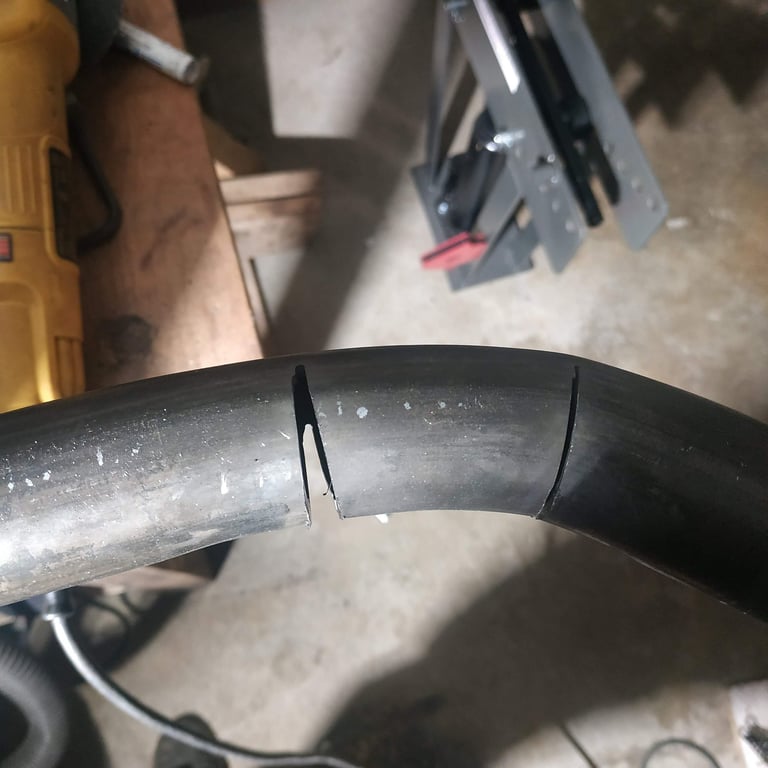
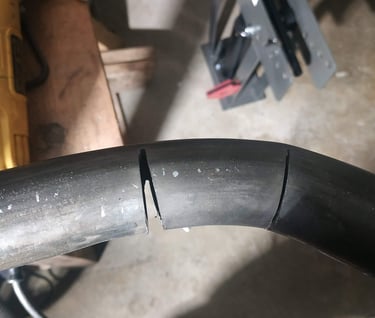
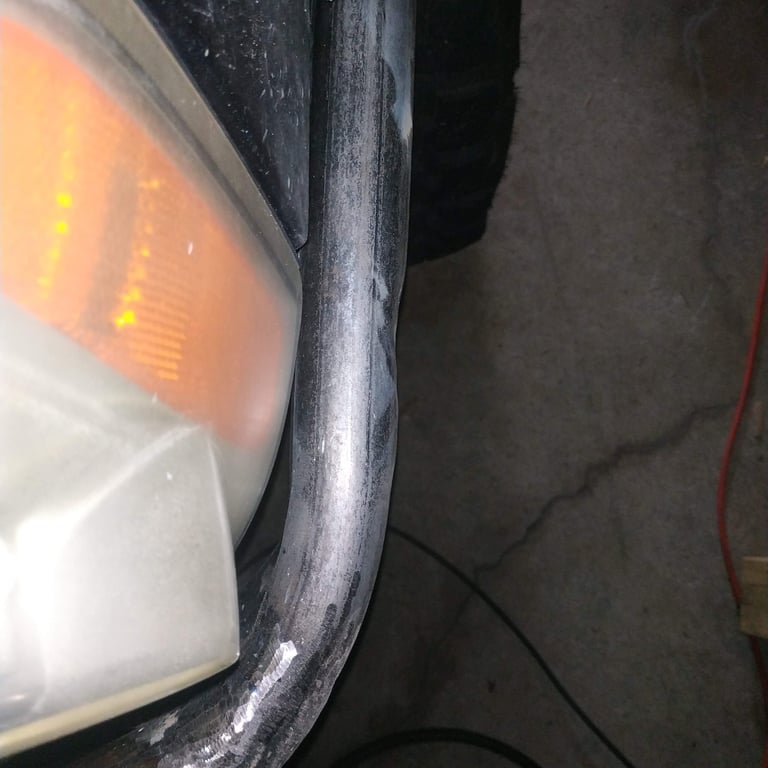
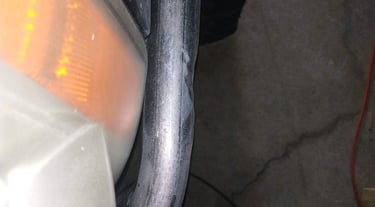
More Angle
If you need more then 40 degree bends, you can make little cuts like this left side, and each one of those give you about an additional 10 degrees angle. Each cut can then be welded and then smoothed out. This technique was required for the stinger.
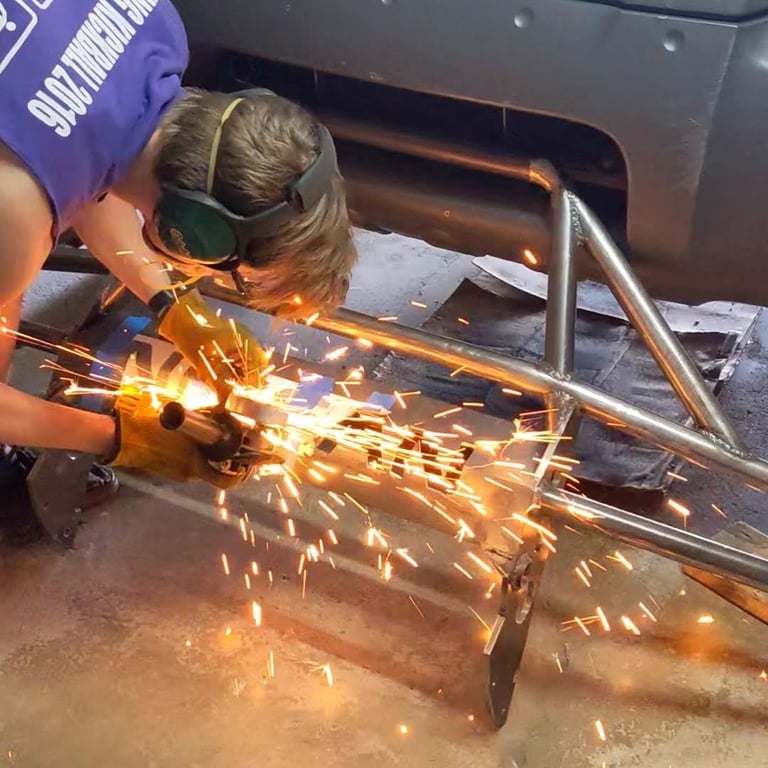
Coping and Tacking up
I used this site to print the notching cut-outs to make it easier to join the tubes together, and then tacked everything in place except for the brace plates, to make sure all the angles were right.
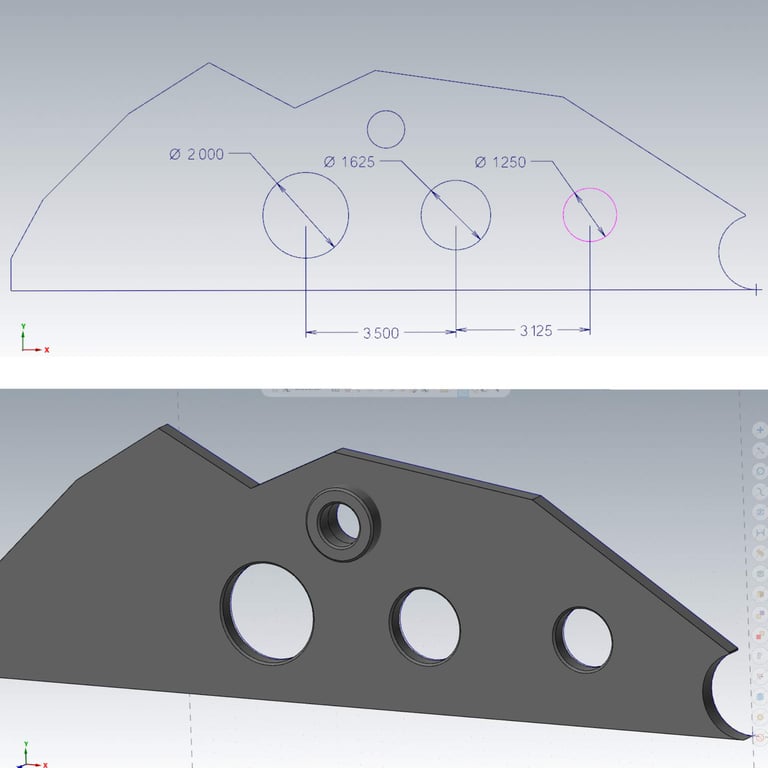
Brace Plate Design
I don't personally have the proper tools to drill holes this large with great precision, so I contacted my local vocational school and the machining class teacher was more than happy to have his students create CAD mock-ups so I could see my design before they started cutting the holes. He sent me a couple options, then the class machined the holes out, with a special insert for the clevises.

Light Tabs
We went with three lights. Amber running lights, Fog lights, and Spot lights. Three sets of tabs were welded onto the lower tube.
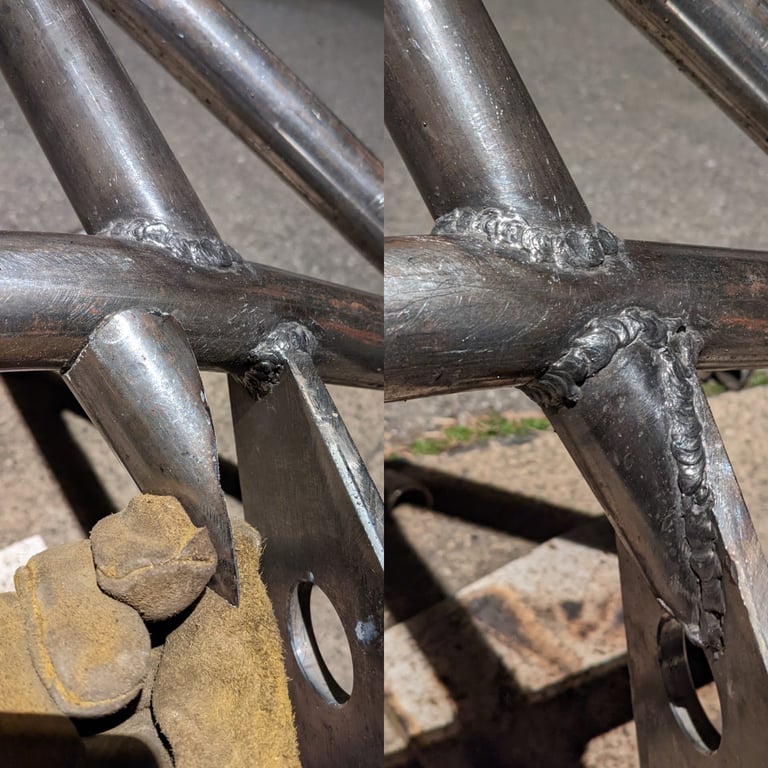

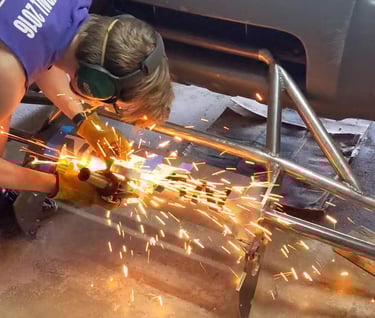
Welding it Together
Everything was welded together, and I added this additional piece of tubing to provide extra strength between the top tube and the brace pieces.
Front Plate
The front plate lettering was printed out onto two pieces of paper, taped to the plate and then cut out with an angle grinder and a dremel tool. The A has a piece of angled metal behind it to hold the middle section in place.
Side Profile
The side was covered with a metal plate to give it a little character.
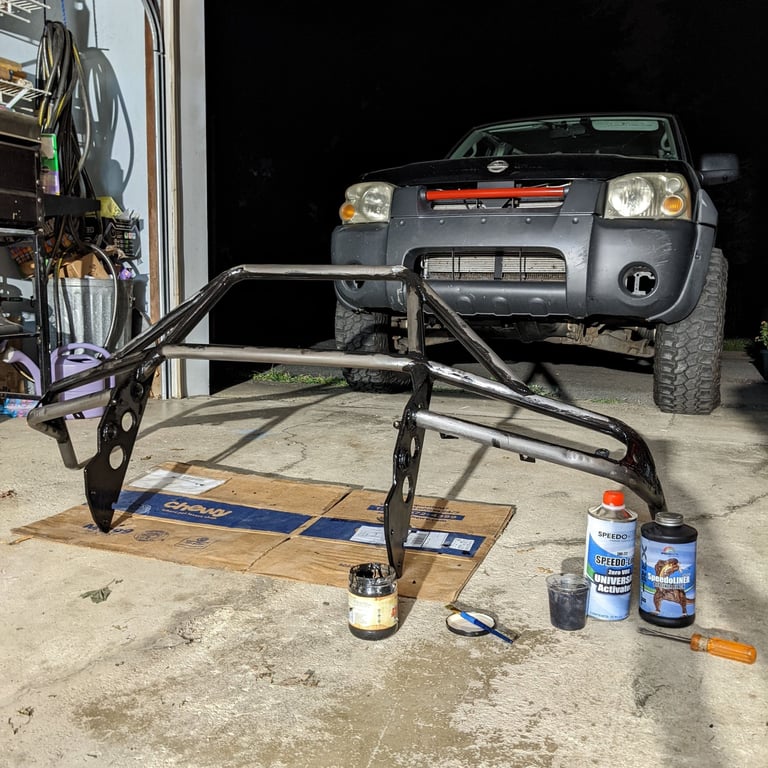
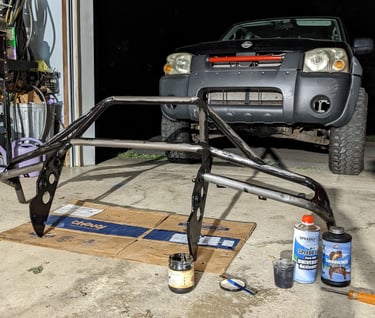
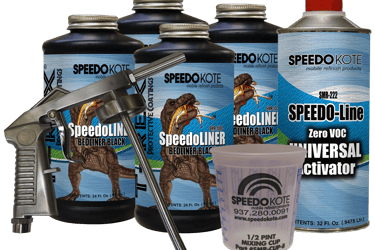
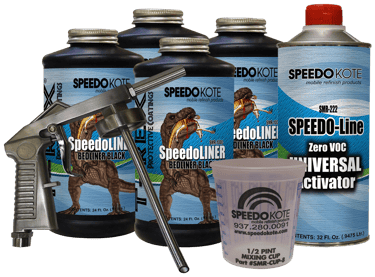
Bed Liner Painting
Be sure to hand sand any surface rust off the tubing, and then while using gloves thoroughly clean the whole bumper with Acetone to remove any hand grease and residue. I recommend mixing a small portion of the Bed Liner and painting the WHOLE bumper first with a hand brush to ensure full coverage in the cracks/welds/corners, as well as letting you not worry about missing small spots when spraying the paint on, thus possibly applying it overly thick in certain spots. Then use the included air sprayer to paint it up-side down with 1qt, letting it dry completely, and then the second quart with it right side up on another day.
The T-Rex Bed Liner was also used on the rear bumper and is low maintenance. Light bumps from hitting trees, sign posts, etc, just roughs up the surface, and can be returned to normal appearance with a spray from a can of Rust-Oleum Gloss Black.
More Specs
New bumper weight with front plate = 48lbs
Old bumper weight with plastic/metal pieces = 37lbs
New approach angle = 56°
Old approach angle = 39°
Amber lights were spliced into the running light power wire.
Fog light relay was spliced into the running light power first, followed by an internally mounted power switch, to allow them to be turned off separately if so desired.
Spot beam relay was spliced into the high beam power wire for improved night vision on back roads.
Info on the removable winch plate can be found here.
Info on the lights used can be found here.
The complete list of items used can be found in the Parts List below.
Parts List
Total Cost = $379