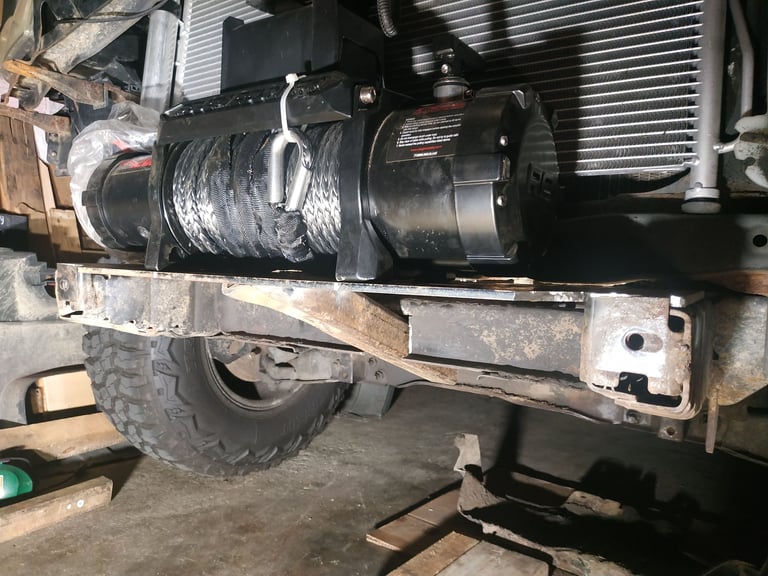
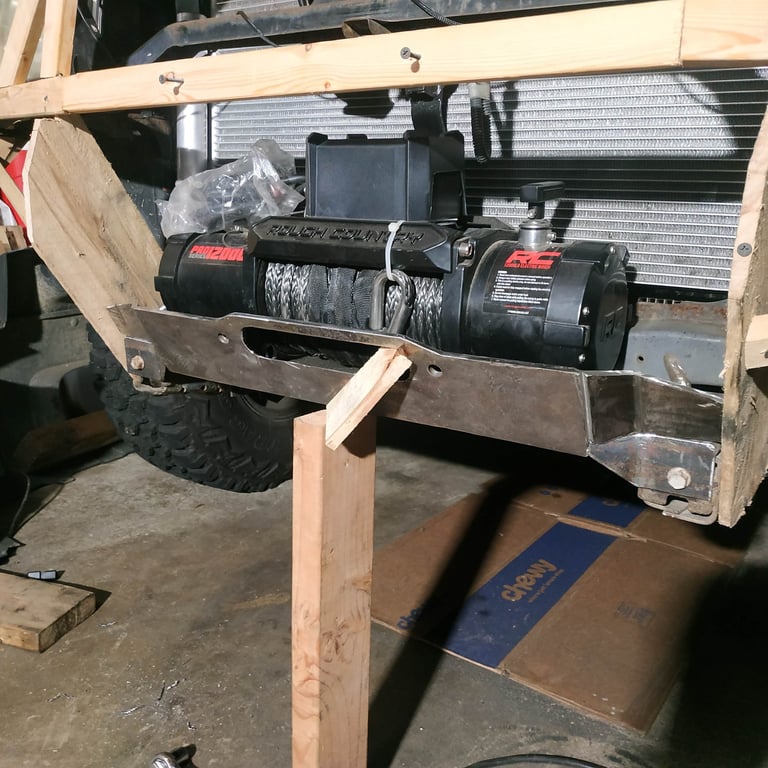
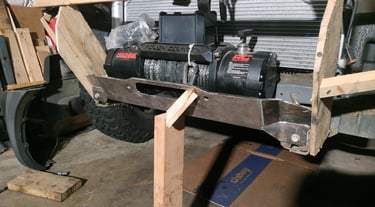
Removable Winch Plate
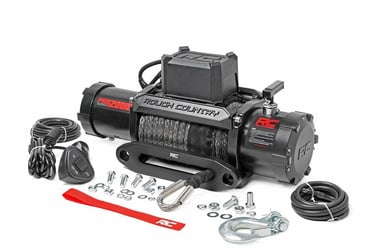
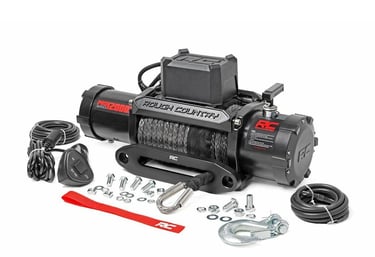
This 1st gen Frontier front or rear removable winch plate was designed to give me options when recovery is required. This removeable winch plate was designed around the Rough Country 12k lb synthetic rope winch.
12/29/20225 min read
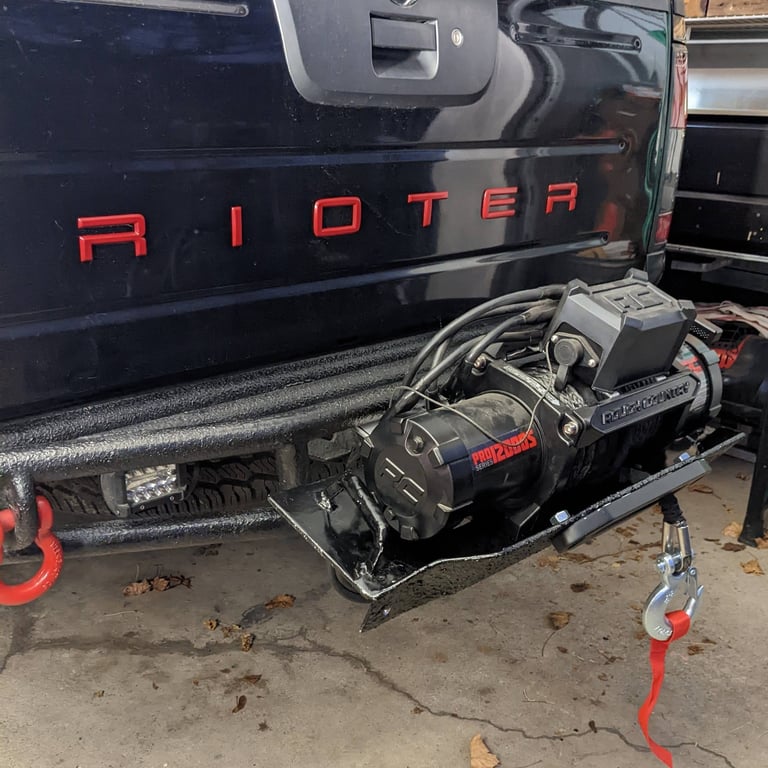
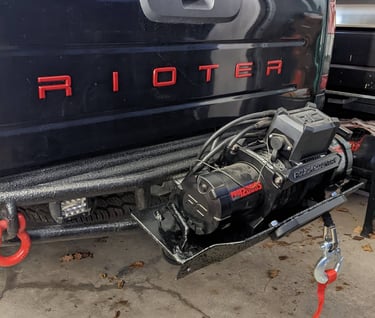
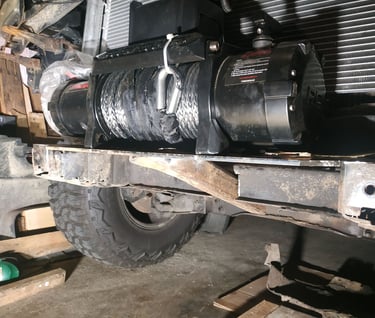
Rear Mounting Winch Plate
PLEASE NOTE: Complete testing has to be done with actual recoveries before I can recommend this, but I'm documenting what I have done, and will update this upon further testing.
The idea is that if I were to get myself stuck and not be able to pull myself through the obstacle, that I would be able to move the winch to the rear hitch and recover myself. The hitch mount is at an angle due to the power steering lines that run under the radiator fan at the time of this build. All things can change in the future.
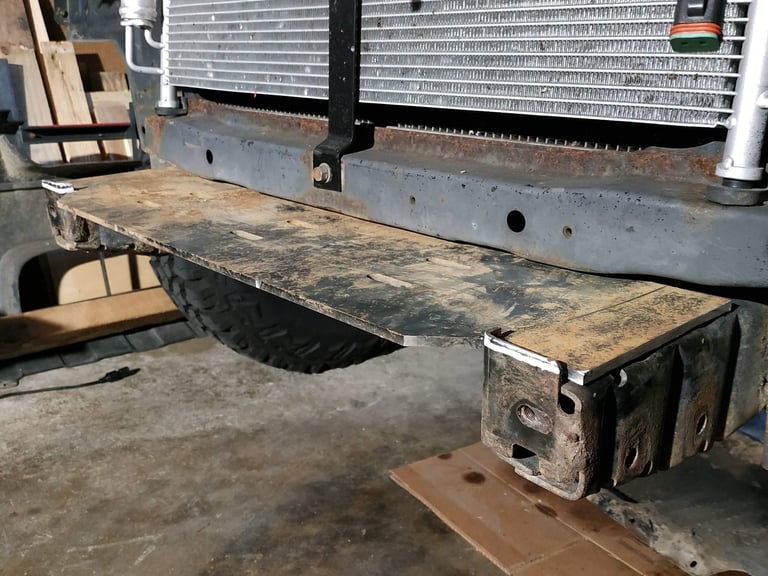
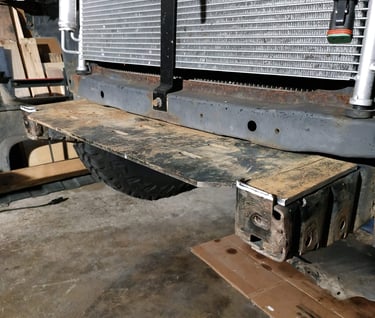
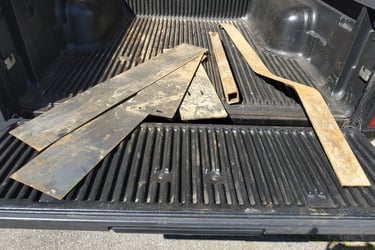
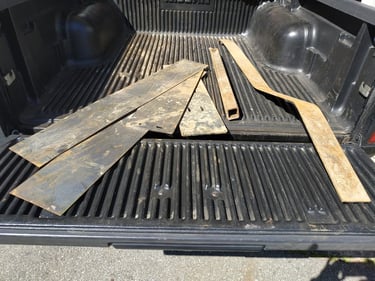
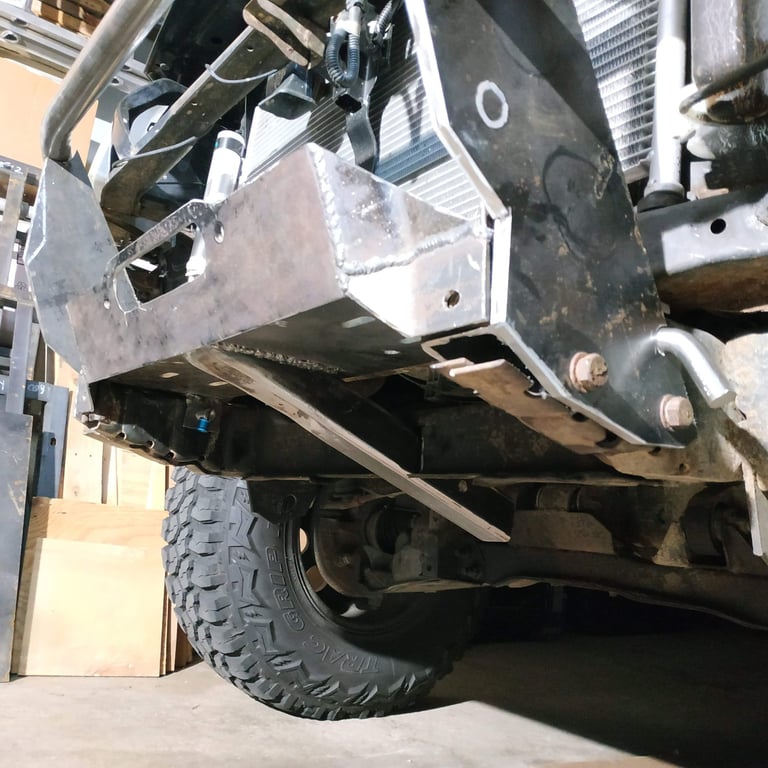
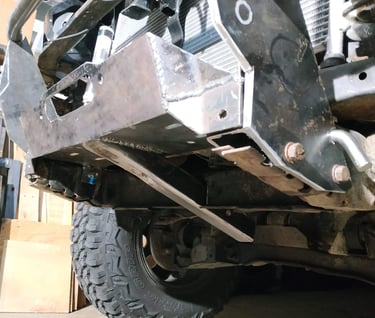
Base Winch Plate
I started with a base 1/4in plate, cut to fit around the current frame and bumper mounts. If you didn't want to do a removable winch plate setup, I would recommend welding the plate to the frame, or if you were building a custom bumper, you could weld it to the braces that bolt into the holes alongside the frame rails.
In order to fit a 12k pound Rough County winch, I cut the hood support brace, and welded a new brace into place that hugs closer to the condenser. This gave me an extra inch to work with to keep the winch plate from sticking farther out in the front.
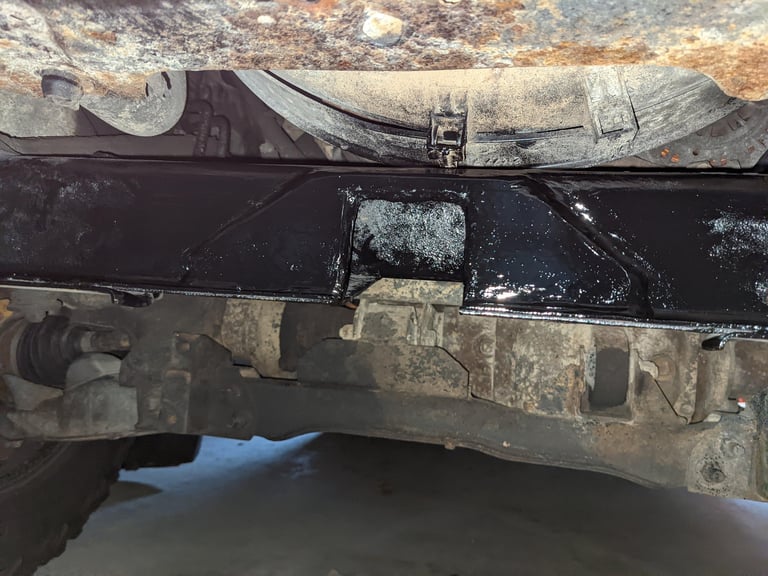
Cross-member Notch
Again, the hitch mount is at an angle due to the power steering lines that run under the radiator fan at the time of this build. The cross-member was notched as shown in the picture.
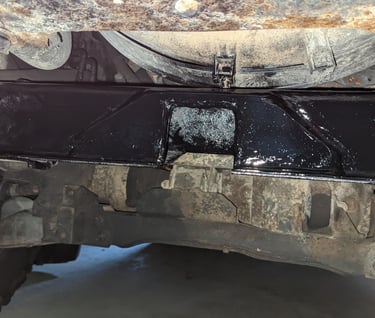
Cross-member Brace
The cross-member was braced with 1/4in steel to prevent any issues from occurring due to the cutout that I made.
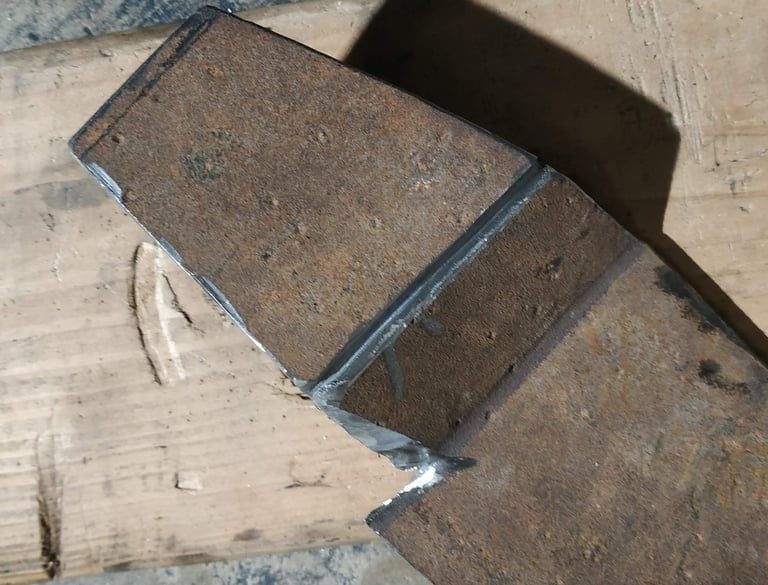
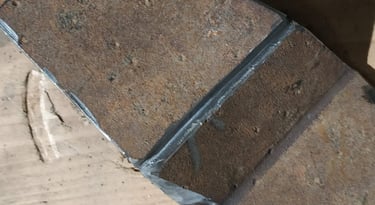
Bending Thick Steel
To make bending 1/4in steel easier, like this fairlead plate, cut halfway through where you want to make the bends, and then weld the cracks up.
Fairlead Plate
Pieces of 1/4in steel where welded to the front of the winch plate to attach to the old front bumper bolt mounts, and the fairlead plate was welded to the mounting plate at the same angle as the bumper side braces were going to be set to.
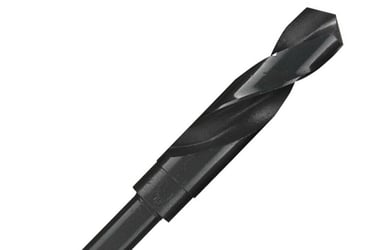
The holes to mount the winch were made by placing a piece of paper under the winch, tracing where it should be located on the paper, then flipping the winch over and cutting out the holes where the winch bolts go through. Tape the paper back down and drill out the four holes using a 7/16" drill bit.
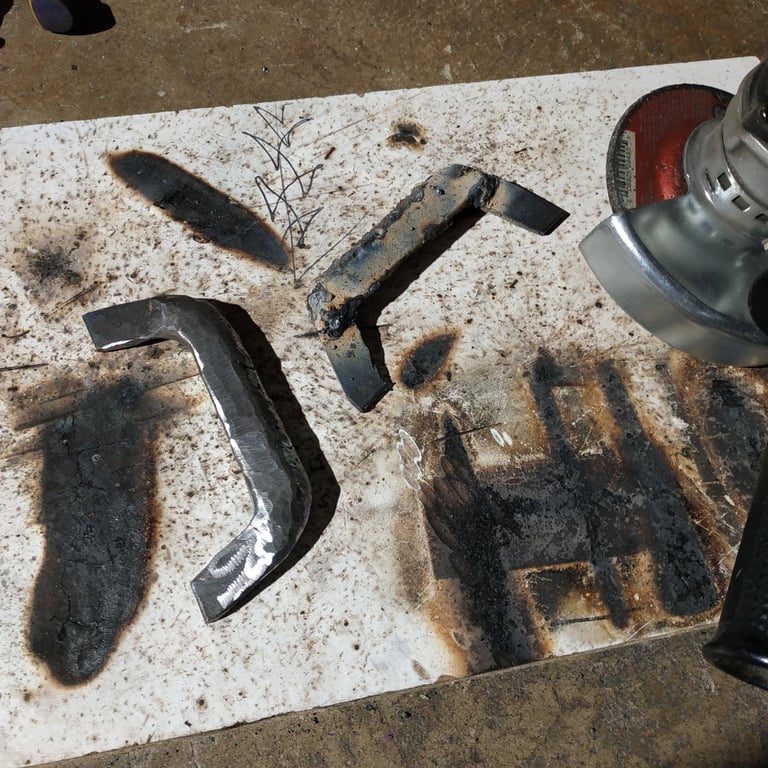
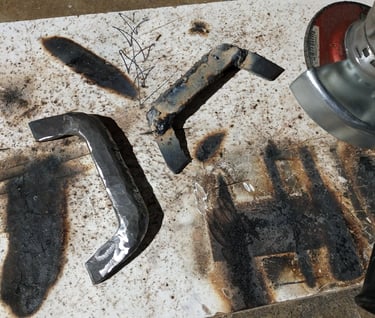
Winch Plate Handles
Handles were cut out of angle iron, pieces of metal were welded to the top sections to enhance the grip comfort, and then smoothed out with the angle grinder.
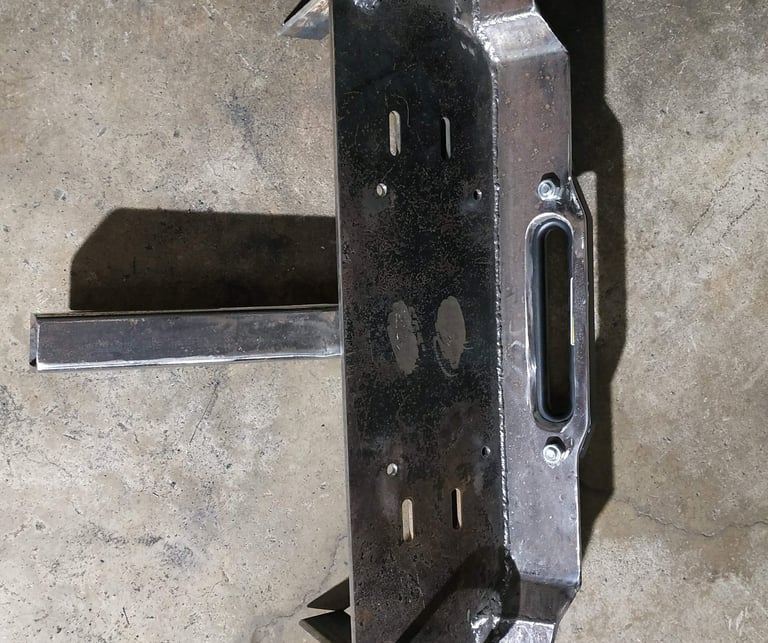
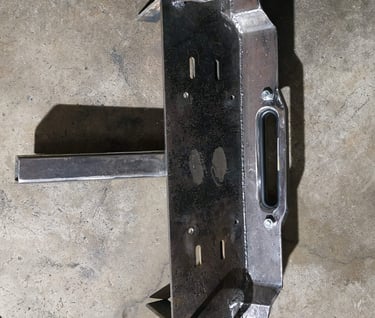
Winch Plate Top View
Underneath, I added two tabs, which the hitch pins will go through the frame, and then into these, as another point of bracing and easy disconnection. Top view before mounting the winch.
Mounted with Hitch Pins
Here you can see how the hitch pins are utilized, and they were drilled out with a 5/8" drill bit.
The stock skid plate was re-attached with a small cut-out, due to the hitch receiver setup.
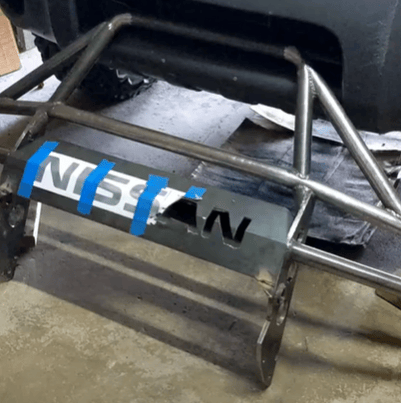
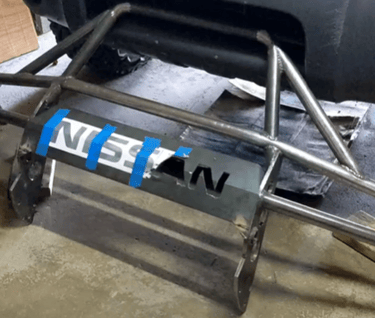
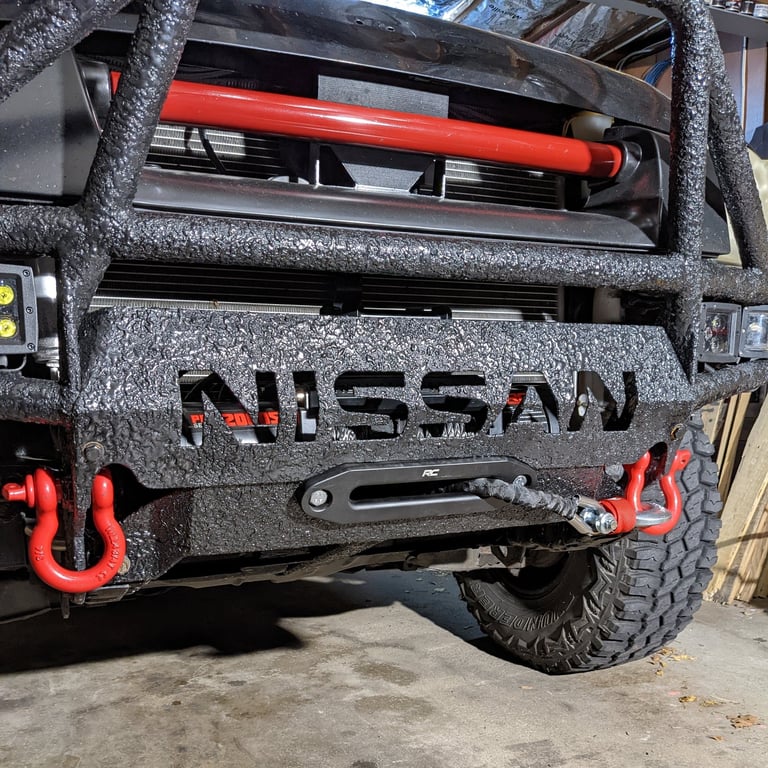
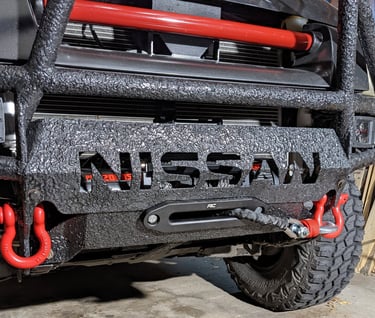
Winch Front Plate
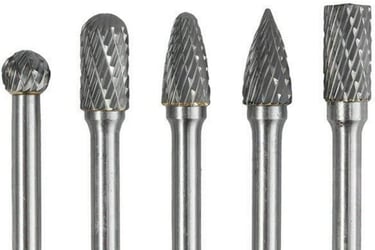
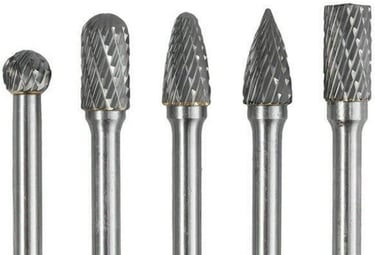
The front plate was cut out of 1/8" plate and is held in place by two bolts, for easy removal. I printed the Nissan logo onto two sheets of paper, taped to the plate, and then cut everything out with an angle grinder and dremel tool, followed by a tungsten carbide rotary burr to smooth everything out.
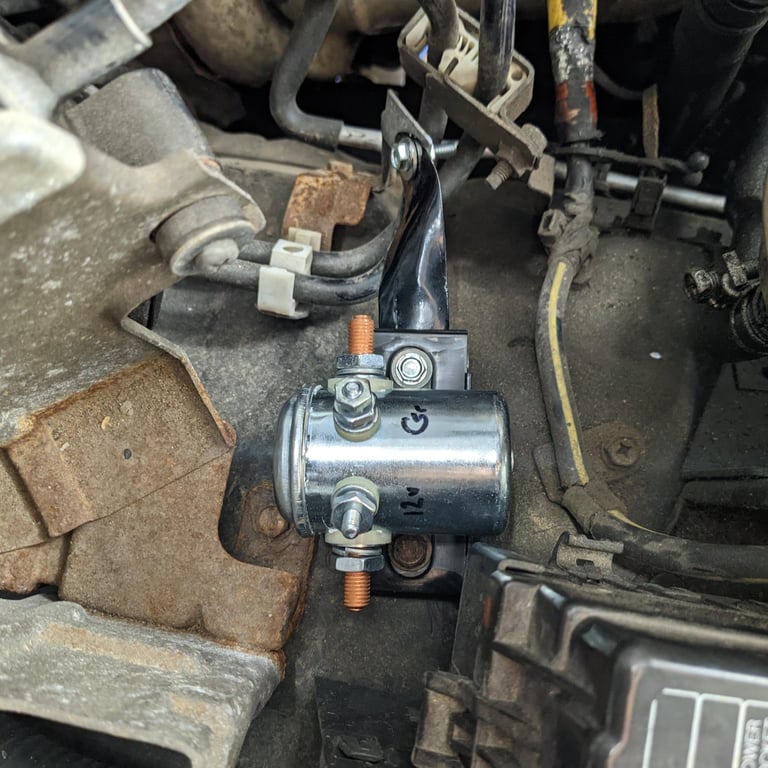
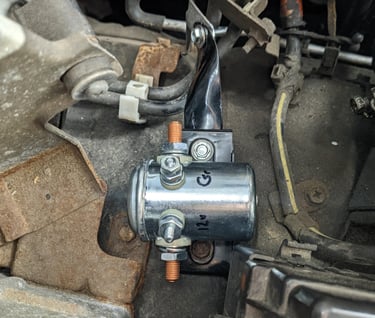
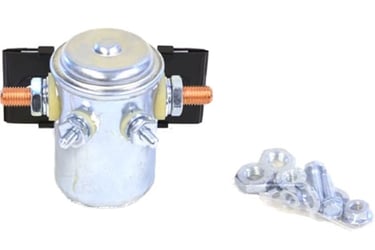
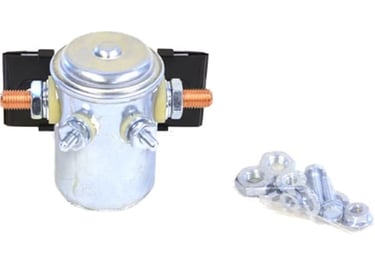
Winch Solenoid
A solenoid is recommended to be able to cut the power to the winch, so in the event of an accident, there are less electrical issues to worry about with the wiring being up front.
The metal removed from trimming my fenders was used for its mount, and I found a nice home for it near the fuse box.
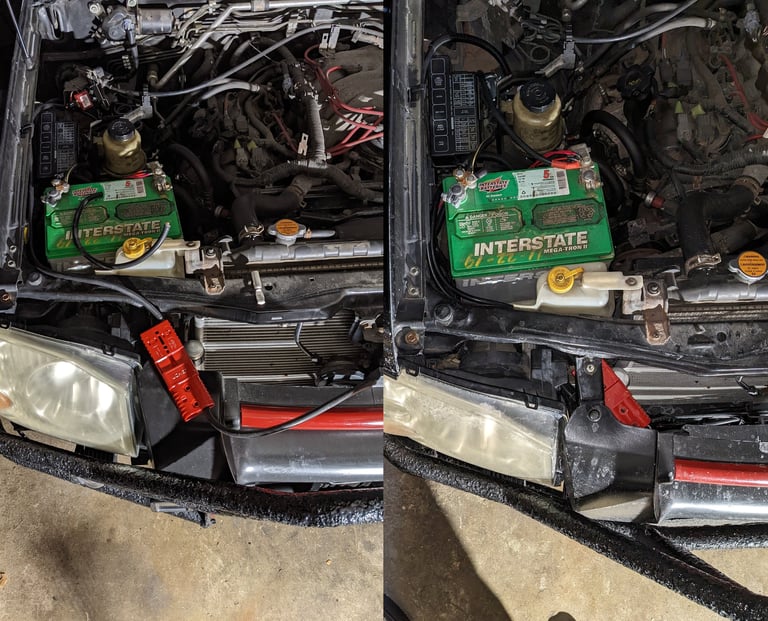
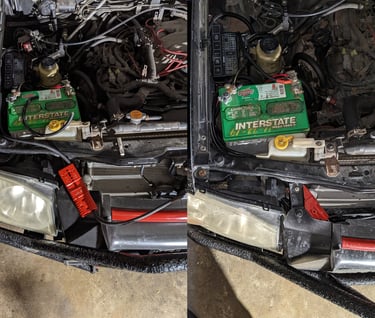
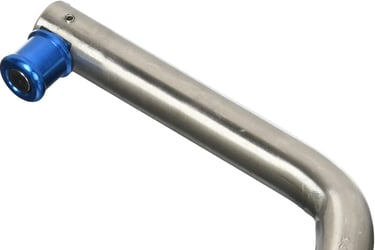
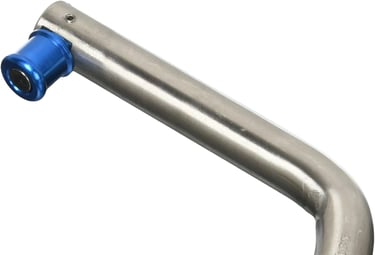
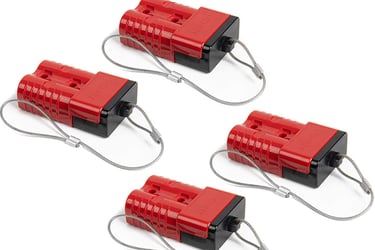
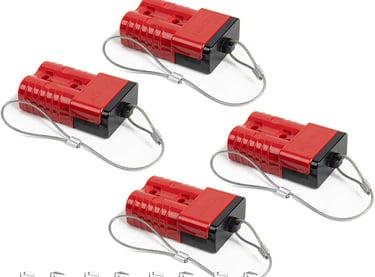
Winch Electrical
Electrical quick disconnects were used since the winch is removable, and it was mounted next to the headlight, on the support for the plastic grill.
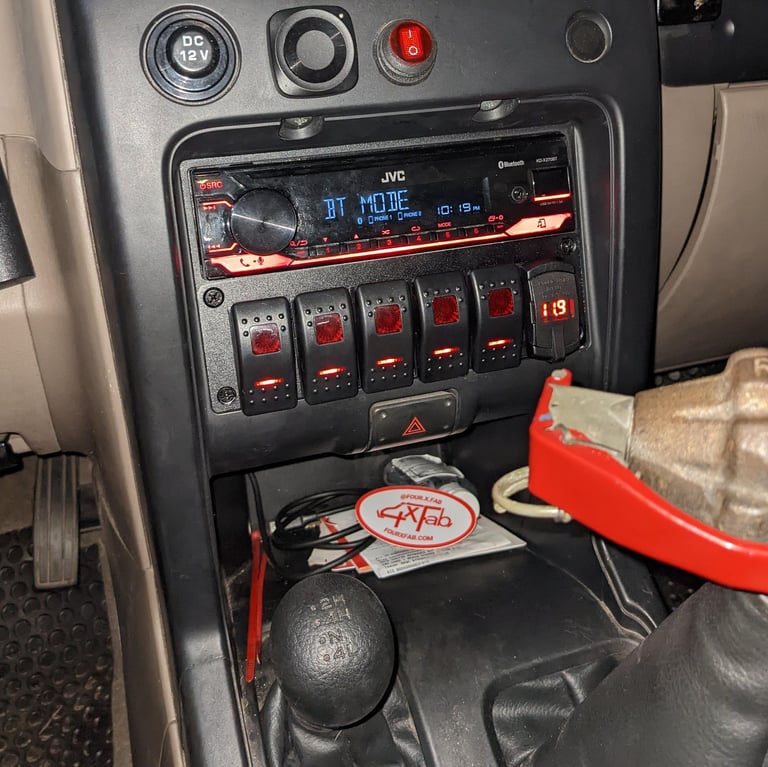
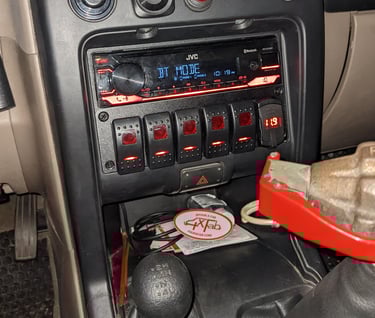
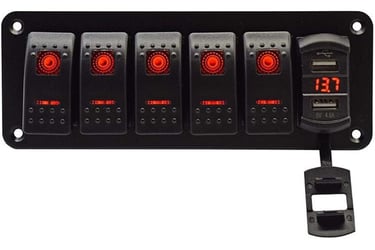
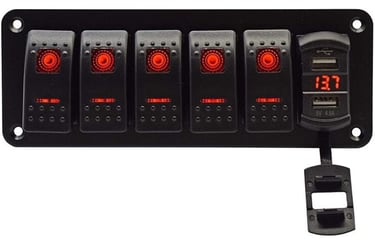
Rocker Switch Gang
Switch gang was installed in place of a radio din pocket, with minor trimming required in order to fit below a single din radio.
Minor modifications were made to the radio mounts as well, since the below-radio-pocket, was part of the radio mount supports.
Installed
There is enough room above the Nissan logo plate for me to reach in, to plug in the winch remote or adjust the winch clutch.
Everything was primered and painted using the same T-Rex Black Spray-on Bed Liner, as used on the front & rear bumpers.
The complete list of items used can be found in the Parts List below.
Parts List
Total Cost = $634